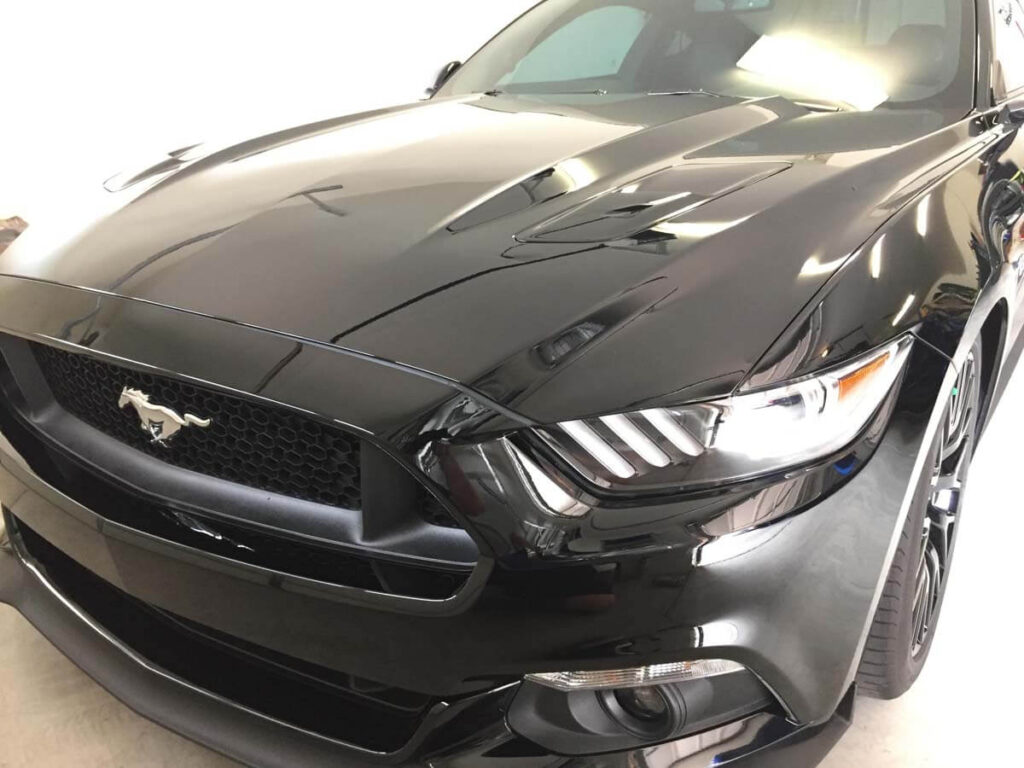
Cloudy, yellowed headlights compromise your vehicle’s safety and appearance while diminishing its resale value. These deteriorated lenses reduce light output by up to 40%, creating dangerous driving conditions during nighttime or adverse weather. Understanding your restoration options helps you make informed decisions that protect both your safety and investment.
The choice between DIY headlight restoration and professional service depends on several factors including damage severity, available time, skill level, and budget considerations. Each approach offers distinct advantages and potential drawbacks that impact both immediate results and long-term performance.
This comprehensive guide examines both DIY and professional headlight restoration methods, helping you determine the best approach for your specific situation. You’ll discover cost comparisons, quality expectations, and maintenance strategies that keep your headlights clear and functional for years to come.
Understanding Headlight Degradation
Modern headlight lenses consist of polycarbonate plastic rather than traditional glass, offering improved impact resistance and design flexibility. However, this material proves vulnerable to environmental damage that gradually reduces optical clarity and light transmission efficiency.
The degradation process occurs gradually over several years, making it difficult to notice until the problem becomes severe. Most vehicle owners don’t realize their headlights have deteriorated until they experience poor nighttime visibility or fail vehicle inspections.
Understanding the science behind headlight degradation helps you recognize early warning signs and take preventive action. The process involves multiple factors working together to break down the protective coating and underlying plastic material.
Causes of Foggy or Yellowed Headlights
Ultraviolet radiation represents the primary cause of headlight deterioration. UV rays break down the polycarbonate material and protective coatings, causing the characteristic yellowing and cloudiness that reduces light transmission. This process accelerates in areas with intense sunlight exposure and high altitudes where UV radiation is stronger.
The manufacturing process includes a protective clear coat designed to shield the underlying plastic from UV damage. Over time, this coating deteriorates and begins peeling or hazing, exposing the raw polycarbonate to direct environmental attack. Once the protective layer fails, degradation accelerates rapidly.
Temperature fluctuations contribute significantly to headlight deterioration. Extreme heat causes the plastic to expand and contract, creating microscopic stress fractures that trap moisture and contaminants. Cold temperatures make the material brittle, increasing susceptibility to impact damage and cracking.
Chemical exposure from road salt, automotive fluids, and cleaning products accelerates the degradation process. These substances can react with the polycarbonate material or protective coatings, causing discoloration and surface roughness. Bug splatter and tree sap contain acids that etch into the surface, creating permanent damage if not removed promptly.
Abrasive particles in the air, including sand, dust, and road debris, gradually wear away the protective coating through constant bombardment. This sandblasting effect is particularly severe in desert climates or areas with frequent construction activity where airborne particles are common.
Risks of Neglecting Headlight Maintenance

Decreased visibility poses the most serious risk of neglecting headlight maintenance. Foggy or yellowed lenses can reduce light output by 40% or more, significantly compromising your ability to see road hazards, pedestrians, and other vehicles. This reduction in visibility increases accident risk, particularly during nighttime driving or adverse weather conditions.
Legal consequences can result from severely deteriorated headlights that fail to meet minimum illumination standards. Many states require headlights to produce specific light output levels, and degraded lenses may not pass inspection or meet legal requirements. Traffic citations and fines can result from operating vehicles with inadequate lighting.
The financial impact extends beyond safety concerns. Vehicles with cloudy headlights show reduced resale value, as potential buyers associate this visible deterioration with poor maintenance. Professional appraisers often deduct significant amounts from vehicle valuations when headlights show severe degradation.
Insurance implications can arise from accidents involving vehicles with inadequate lighting. While insurance companies typically cover accidents, they may question coverage or increase premiums if inadequate lighting contributed to the incident. Maintaining proper headlight function helps avoid these potential complications.
Component replacement becomes necessary when degradation progresses beyond restoration capabilities. New headlight assemblies can cost $200-800 per side depending on the vehicle, making timely restoration a cost-effective alternative to replacement.
DIY Headlight Restoration: An Overview

DIY headlight restoration offers an accessible, cost-effective solution for many vehicle owners willing to invest time and effort in the process. Numerous commercial kits provide the tools and materials needed to restore cloudy lenses to near-original clarity.
The DIY approach appeals to hands-on individuals who enjoy automotive maintenance and want to save money on professional services. Modern restoration kits have simplified the process, making it achievable for people with basic mechanical skills and common tools.
Success depends heavily on following proper techniques and using quality materials. Rushing through the process or skipping steps often leads to poor results that may require professional correction or complete redoing of the work.
Pros and Cons of DIY Headlight Restoration

Cost savings represent the primary advantage of DIY headlight restoration. Commercial kits typically cost $15-50 and can restore multiple vehicles, compared to professional services that charge $75-200 per vehicle. This dramatic cost difference makes DIY attractive for budget-conscious consumers.
Convenience allows you to complete the restoration on your schedule without appointment scheduling or vehicle transportation. The process typically takes 1-3 hours per vehicle, depending on damage severity and your experience level. You can work at your own pace and repeat steps as needed.
Learning opportunities make DIY restoration valuable for hands-on individuals who enjoy understanding their vehicle’s systems. The process teaches valuable skills about automotive maintenance while providing satisfaction from completing the work yourself.
However, several disadvantages must be considered. Quality limitations mean DIY kits may not achieve the same results as professional equipment and techniques. The restoration may not last as long or provide the same level of clarity as professional services.
Time investment can be significant, particularly for first-time users who must learn proper techniques. Mistakes require starting over, potentially doubling the time commitment. Professional services complete the work more quickly with predictable results.
Risk of damage exists when using abrasive materials or incorrect techniques. Permanent scratching or lens damage can occur, requiring expensive headlight replacement. Professional services typically carry insurance to cover any damage during the restoration process.
Common DIY Headlight Restoration Methods
Sanding and polishing represents the most common DIY restoration method. This approach uses progressively finer abrasives to remove the damaged surface layer and restore optical clarity. Start with 400-grit sandpaper to remove heavy oxidation, then progress through 600, 800, and 1000-grit papers.
The sanding process requires careful attention to avoid creating scratches or uneven surfaces. Use circular motions with light pressure, keeping the surface wet to prevent heat buildup. Each grit level should remove scratches from the previous step while gradually improving surface smoothness.
Polishing compounds restore the final clarity after sanding removes surface damage. Apply compound with a microfiber cloth using circular motions, working small sections at a time. Multiple applications may be necessary to achieve optimal results.
Toothpaste methods gained popularity due to their convenience and low cost. Regular toothpaste contains mild abrasives that can remove light surface oxidation. Apply toothpaste to a damp cloth and rub in circular motions for several minutes, then rinse and dry thoroughly.
While toothpaste can improve light oxidation, it lacks the cutting power needed for severe damage. Results are typically temporary, lasting only a few weeks before degradation returns. This method works best as a temporary solution until proper restoration can be performed.
Chemical restoration kits use specialized compounds to dissolve oxidation and restore clarity. These products typically involve applying a chemical solution, allowing it to work for a specified time, then neutralizing and sealing the surface.
Cost Considerations and Potential Mistakes in DIY

Material costs for DIY restoration vary significantly based on the method chosen. Basic toothpaste restoration costs under $5 but provides limited results. Commercial restoration kits range from $15-50 and include multiple grits of sandpaper, polishing compounds, and protective coatings.
Tool requirements may increase costs for first-time users. Electric drills with polishing attachments, various grits of sandpaper, microfiber cloths, and masking tape add to the initial investment. However, these tools can be reused for future restorations or other projects.
Time investment represents a hidden cost that many DIY enthusiasts underestimate. First-time restoration typically takes 2-4 hours per vehicle, including preparation, actual restoration, and cleanup. Mistakes that require starting over can double this time commitment.
Common mistakes include using incorrect grit sequences, applying too much pressure, or failing to properly clean between steps. These errors can create permanent scratches, uneven surfaces, or cloudy results that require professional correction.
Inadequate protection of surrounding areas leads to damage of paint, rubber seals, or plastic trim. Proper masking takes time but prevents costly damage that exceeds the cost of professional services. Always use high-quality masking tape and remove it promptly after completion.
Professional Headlight Restoration: An Overview
Professional headlight restoration services offer expertise, specialized equipment, and guaranteed results that DIY methods cannot match. These services have access to commercial-grade products and techniques that achieve superior clarity and longevity.
The professional approach typically involves more thorough preparation, precise technique application, and protective coatings that extend restoration life. Many services provide warranties on their work, offering peace of mind and recourse if results don’t meet expectations.
Professional services understand the nuances of different headlight materials and can adapt their techniques accordingly. This expertise becomes particularly valuable for luxury vehicles or unique lens configurations that require specialized handling.
Pros and Cons of Professional Headlight Restoration
Superior results represent the primary advantage of professional restoration services. Commercial equipment and techniques achieve clarity levels that DIY methods cannot match. Professional-grade compounds and protective coatings provide longer-lasting results with better optical clarity.
Time savings make professional services attractive for busy individuals who value convenience over cost savings. Most services complete restoration in 1-2 hours while you wait, compared to the 3-6 hours required for DIY restoration including preparation and cleanup.
Warranty protection provides recourse if results don’t meet expectations or fade prematurely. Many services offer 6-month to 2-year warranties on their work, demonstrating confidence in their results and providing customer protection.
Expertise prevents damage that can occur with DIY attempts. Professional technicians understand proper techniques, tool usage, and material limitations. They can assess damage severity and recommend appropriate solutions, including replacement when restoration isn’t viable.
However, cost represents the primary disadvantage of professional services. Prices typically range from $75-200 per vehicle, significantly higher than DIY kit costs. This price difference can be substantial for multiple vehicles or frequent treatments.
Scheduling inconvenience requires planning around service availability and potentially leaving your vehicle for several hours. Some services offer mobile options, but these may cost more or have limited availability in certain areas.
Limited learning opportunity means you don’t gain the knowledge and skills that come with DIY restoration. While this may not concern everyone, hands-on individuals often prefer understanding and performing their own maintenance.
The Professional Headlight Restoration Process/h3>
Professional restoration begins with thorough assessment to determine damage severity and appropriate treatment methods. Technicians examine the lens condition, check for cracks or deep scratches, and evaluate whether restoration is viable or replacement is necessary.
Preparation involves carefully masking surrounding areas to prevent damage during the restoration process. Professional-grade masking materials and techniques ensure complete protection of paint, rubber seals, and plastic trim. This preparation takes longer but prevents costly damage.
The sanding process uses commercial-grade equipment and progressively finer abrasives to remove damaged surface layers. Professional sanders maintain consistent pressure and speed, ensuring even material removal without creating scratches or uneven surfaces.
Polishing utilizes commercial compounds and equipment to restore optical clarity. Multiple polishing stages with different compounds gradually improve surface smoothness and transparency. Professional equipment achieves results that hand polishing cannot match.
Protective coating application represents a crucial final step that many DIY attempts skip or perform inadequately. Professional services apply UV-resistant coatings that protect the restored surface from future degradation. These coatings significantly extend restoration life and maintain clarity.
Cost and Quality Considerations for Professional Services
Professional headlight restoration costs vary based on location, service provider, and damage severity. Basic restoration typically costs $75-150 per vehicle, while severe damage or luxury vehicles may cost $150-300. Mobile services often charge premium rates for convenience.
Quality expectations should align with the service provider’s reputation and warranty terms. Established businesses with positive reviews and comprehensive warranties typically deliver superior results. Research potential providers through online reviews and Better Business Bureau ratings.
Value comparison requires considering both immediate costs and long-term benefits. Professional restoration often lasts 2-3 times longer than DIY attempts, potentially making it more cost-effective over time. Factor in warranty protection and guaranteed results when evaluating value.
Geographic variations affect both pricing and service availability. Urban areas typically offer more service options and competitive pricing, while rural areas may have limited choices and higher costs. Some areas have mobile services that travel to customer locations.
Choosing Between DIY and Professional Services
The decision between DIY and professional headlight restoration depends on multiple factors including budget, time availability, skill level, and quality expectations. Evaluating these factors honestly helps determine the best approach for your specific situation.
Vehicle value influences the restoration choice significantly. Expensive or collectible vehicles warrant professional restoration to ensure optimal results and prevent potential damage. Economy vehicles with high mileage may be good candidates for DIY restoration if budget constraints exist.
Damage severity affects restoration complexity and success probability. Light oxidation and surface cloudiness respond well to DIY methods, while severe yellowing, deep scratches, or multiple damage types require professional expertise and equipment.
When to Choose DIY
Budget constraints make DIY restoration attractive when professional services exceed available funds. The significant cost difference allows vehicle owners to address safety concerns even with limited budgets. Multiple vehicles or frequent treatments further increase DIY cost advantages.
Learning interest motivates hands-on individuals who enjoy automotive maintenance and want to develop new skills. DIY restoration provides valuable experience that applies to other automotive projects while building confidence in vehicle maintenance.
Time availability allows thorough completion of the restoration process without rushing. DIY restoration requires patience and attention to detail, making it suitable for individuals with flexible schedules who can work at their own pace.
Light damage responds well to DIY methods when surface oxidation is minimal and no deep scratches exist. Fresh damage or early-stage degradation typically achieves good results with proper DIY techniques and quality materials.
Multiple vehicles make DIY restoration more cost-effective since kit materials can restore several vehicles. Fleet owners or families with multiple cars can achieve significant savings by learning proper DIY techniques.
When to Rely on Professionals
Severe damage requires professional expertise and equipment to achieve acceptable results. Deep scratches, heavy oxidation, or multiple damage types exceed DIY capabilities and may worsen with incorrect treatment attempts.
Expensive vehicles warrant professional restoration to protect their value and ensure optimal results. Luxury cars, collectibles, or high-value vehicles justify professional costs through superior results and damage protection.
Time constraints make professional services attractive for busy individuals who cannot dedicate hours to DIY restoration. Professional completion in 1-2 hours provides significant time savings compared to DIY attempts that may require multiple sessions.
Skill limitations prevent successful DIY restoration when individuals lack mechanical aptitude or experience with automotive maintenance. Professional services eliminate the learning curve and potential mistakes that could cause expensive damage.
Warranty requirements may necessitate professional services for vehicles under warranty or insurance claims. Some warranties specify professional service requirements, making DIY restoration potentially problematic for coverage.
Long-Term Maintenance and Care for Clear Headlights
Maintaining clear headlights after restoration requires ongoing attention and preventive measures. Regular cleaning, protective treatments, and environmental awareness significantly extend restoration life and maintain optimal light output.
Understanding the factors that cause headlight degradation helps you modify maintenance routines and parking habits to minimize future damage. Small preventive steps can dramatically extend the time between restoration treatments.
Professional-grade protective coatings applied during restoration require specific maintenance to remain effective. Following recommended care procedures ensures maximum coating life and continued protection against environmental damage.
Preventative Measures to Keep Headlights Clear
Regular cleaning prevents contaminant buildup that accelerates degradation. Wash headlights weekly using automotive soap and soft microfiber cloths, paying attention to remove bug splatter, tree sap, and road grime promptly. Avoid household cleaners that may damage protective coatings.
Protective treatments applied every 3-6 months help maintain coating integrity and UV protection. Quality automotive wax or specialized headlight protectants create barriers against environmental damage while enhancing clarity and appearance.
Parking strategies minimize UV exposure and environmental damage. Use covered parking when possible, or position vehicles to minimize direct sunlight exposure during peak UV hours. Car covers provide excellent protection but require proper use to avoid scratching.
Prompt damage repair prevents minor issues from becoming major problems. Address small scratches, chips, or coating damage immediately to prevent moisture infiltration and accelerated degradation. Quick action often prevents the need for complete restoration.
Quality replacement parts ensure long-term performance when restoration is no longer viable. OEM or high-quality aftermarket headlight assemblies provide better longevity than cheap replacements that may fail prematurely.
How Often Should Headlights Be Restored?
Restoration frequency depends on environmental conditions, vehicle usage, and maintenance quality. Most vehicles require restoration every 2-4 years under normal conditions, while harsh environments may necessitate annual treatment.
Environmental factors significantly influence restoration intervals. Desert climates with intense UV exposure require more frequent restoration than temperate areas with moderate sun exposure. Coastal areas with salt air may also accelerate degradation.
Usage patterns affect restoration needs based on exposure time and driving conditions. Daily drivers accumulate more environmental exposure than occasional-use vehicles, requiring more frequent restoration to maintain clarity.
Quality indicators help determine restoration timing before safety becomes compromised. Reduced nighttime visibility, failed inspections, or visible cloudiness indicate the need for restoration regardless of time intervals.
Professional assessment provides expert evaluation of restoration needs and timing. Annual inspections can identify early degradation and recommend appropriate treatment timing to prevent severe damage.
Regular maintenance extends restoration life significantly. Vehicles with consistent cleaning and protective treatments may extend restoration intervals by 50-100%, making preventive care highly cost-effective.
Understanding these factors helps you develop appropriate maintenance schedules that balance safety, appearance, and cost considerations. Consistent care prevents emergency situations and maintains optimal headlight performance throughout your vehicle’s life.